Building and Testing Apps with VPS
Make a build using the RemoteAuthoring Example
The quickest way to make a build is through using the VPS Remote Authoring example scene in the ARDK-Examples package. This scene makes it easy to use multiple Location Manifests and consume them at runtime.
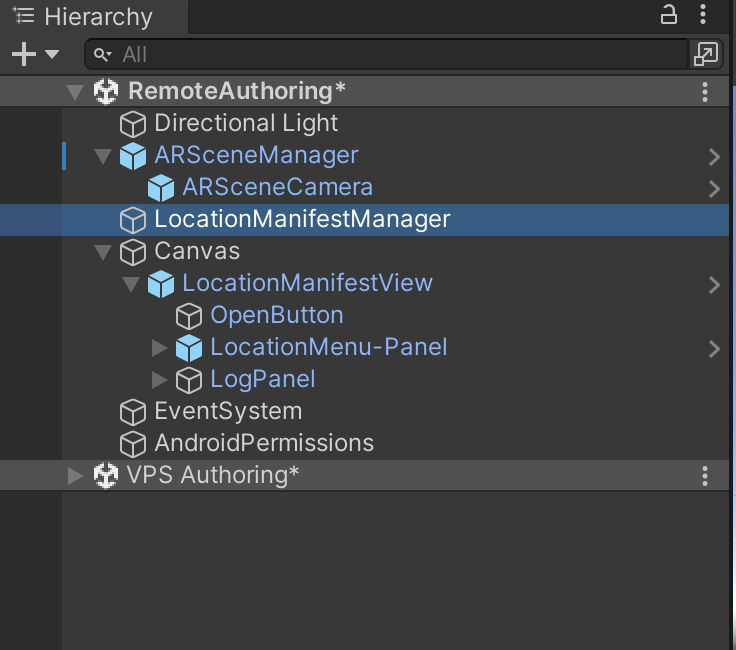
The RemoteAuthoring example scene brings in the LocationManifestManager component. The LocationManifestManager takes the manifests that were generated using the VPS Authoring Assistant and converts it into anchored content that is displayed at a physical location once an end user successfully localizes at a location. The example scene has a simple UI that allows an end user to choose where they are so that the right content is displayed upon a successful localization.
Keep Synced Property
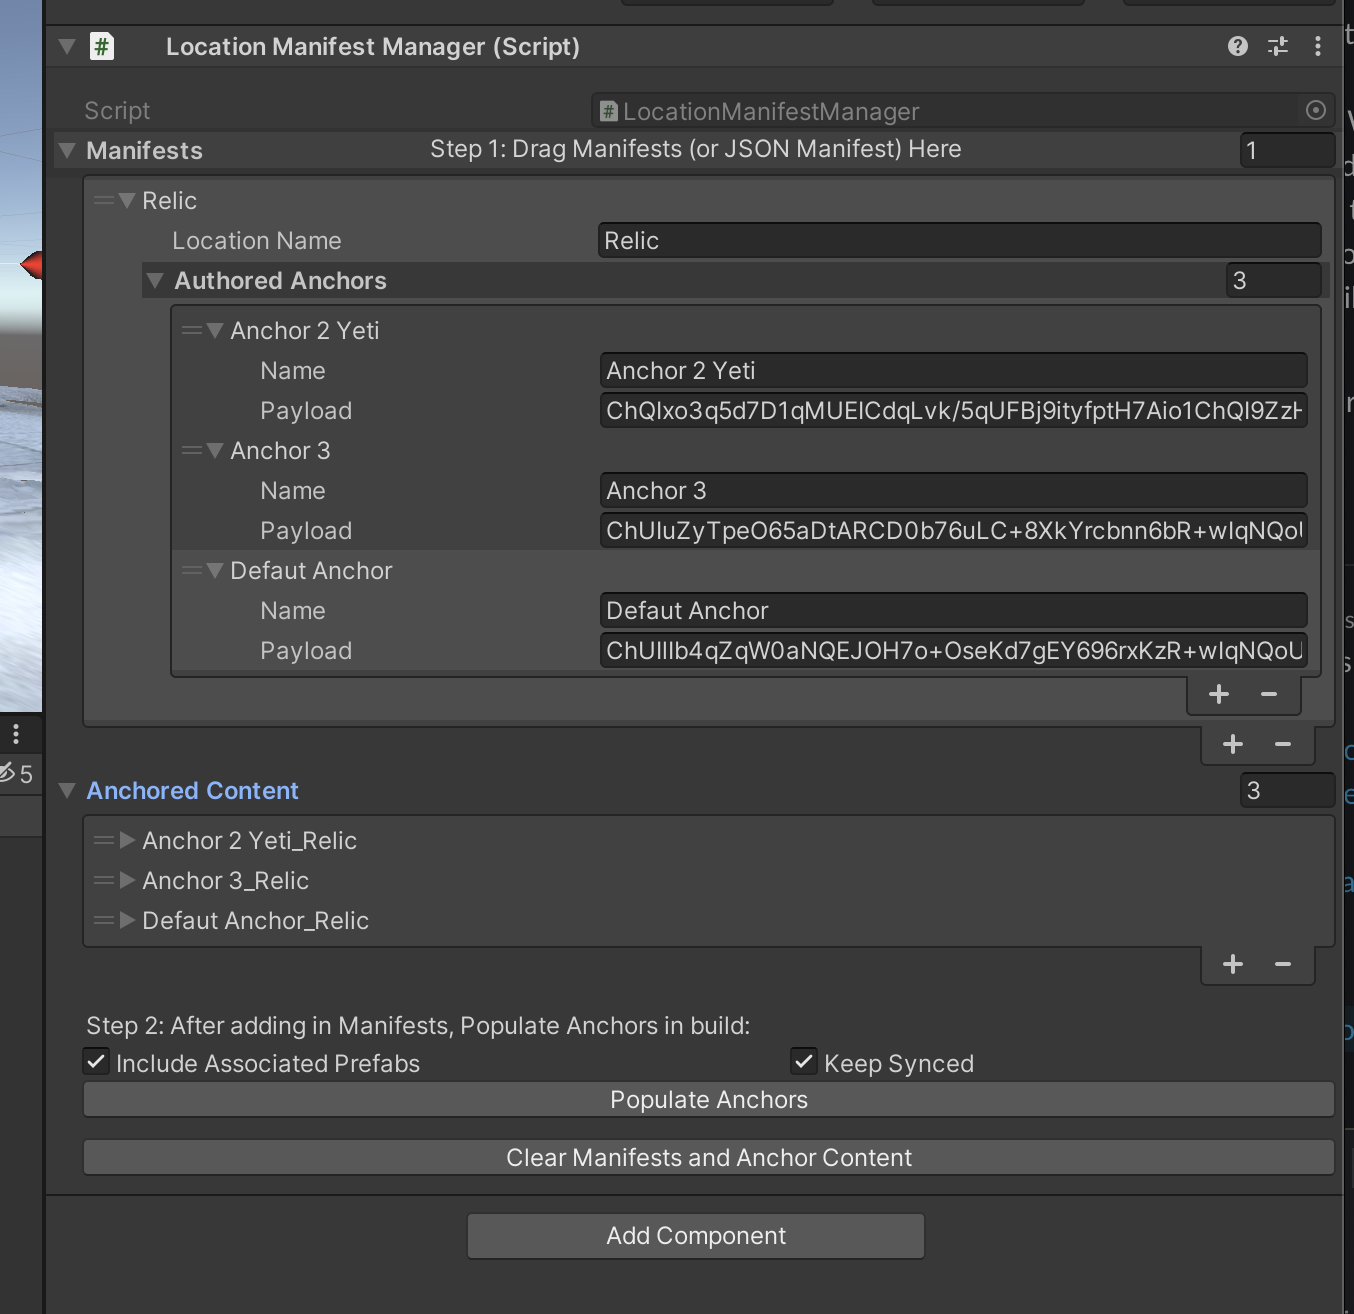
By choosing Keep Synced in the LocationManifestManager, the anchored content will subscribe to changes to locations in its Manifests list, and will update anchored content any time you make changes in the VPS Authoring Assistant. Unselecting this option, will mean that the anchored content will remain as it is in your scene until you press the Populate Anchors button, which will manually sync your manifests to your scene.
Use Associated Prefabs Property
By choosing Use Associated Prefabs in the LocationManifestManager, the anchored content will also pull in the prefabs that a user applies to Authored Anchors in the VPS Authoring assistant. Unselecting this checkbox will ignore any prefabs you added during the VPS authoring assistant, allowing you to populate that content with whatever you’d like in your scene.
Replacing Example Location Manifests
The example scene starts with three manifests in the manifest list. If you’d like to try out the system with places near you, you’ll need to Clear Manifests and Anchored Content and replace with your own manifests. You can drag and drop a manifest you’ve generated with VPS Authoring Assistant (use Inspect Manifest in the VPS Authoring Editor Window to discover where your manifest was stored) into the Manifests list in the LocationManfiestManager. Then press the Populate Anchors button at the bottom of the manager and you’re done! You now have anchored content that you can see on device and in play mode.
Using Virtual Studio to Test Your Scene
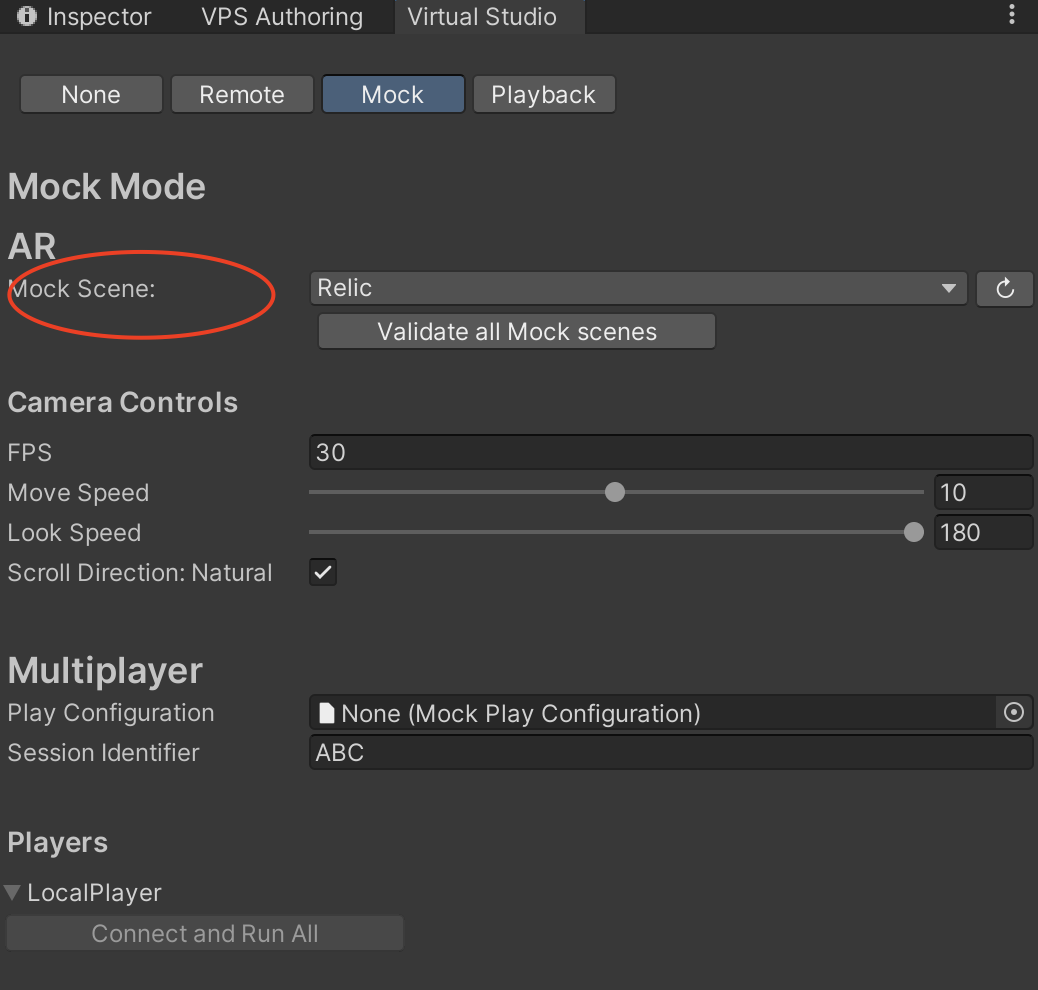
While developing an application you may want to see your code run in your application without having to build it to your phone first. To do this, you can use ARDK’s Virtual Studio. Find the Virtual Studio menu by navigating to Lightship > ARDK > Virtual Studio.
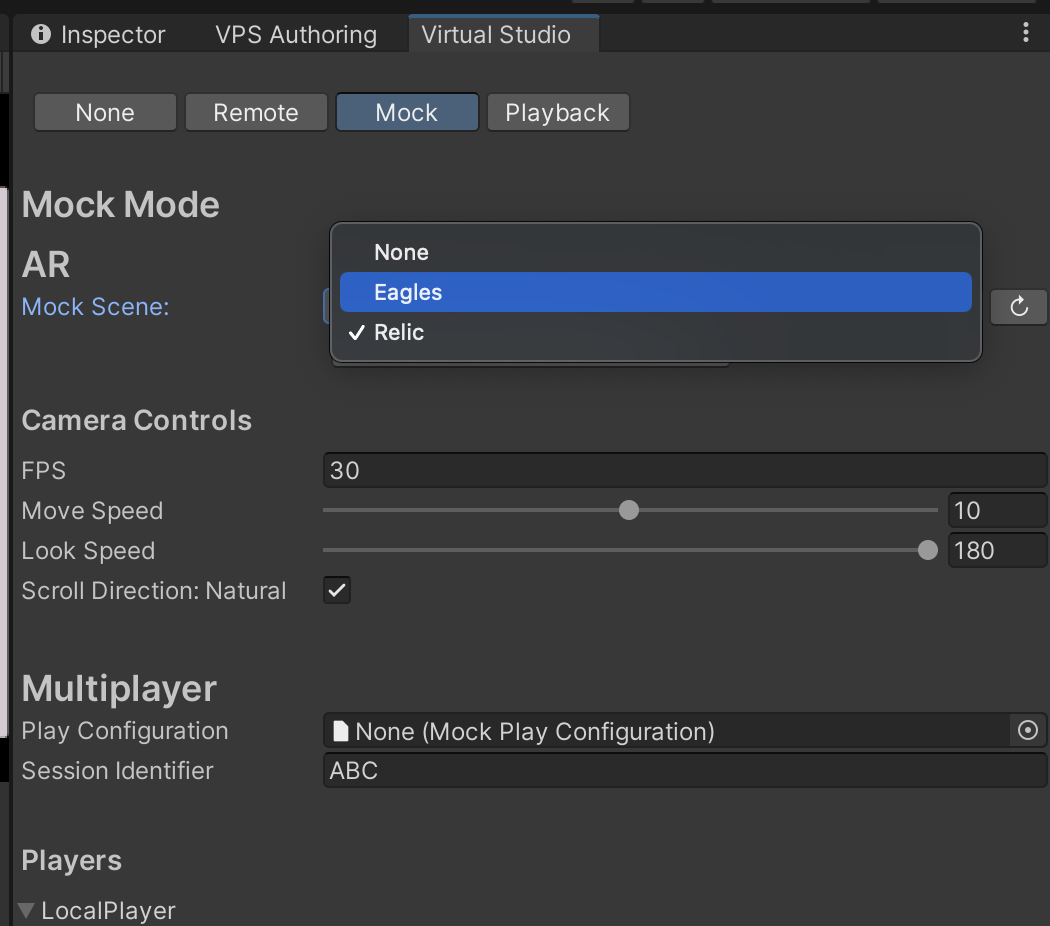
The VPS Authoring Assistant automatically creates mock environments for new locations brought into your project. This is called a “Mock Asset” and is present as part of the Location Manifest. When you select a location from the drop down menu in the VPS Authoring Assistant, it automatically ensures that you are using the associated mock environment in Virtual Studio. However, if you’ve used the Virtual Studio menu to navigate away from your mock environment, you’ll want to either select the location again in the VPS Authoring Assistant menu or use Virtual Studio drop down to put the correct mock environment back in focus. After checking that the correct location is selected, your mock environment can be used for Play Mode testing.
Note
The VPS RemoteAuthoring example includes a basic UI for selecting between different locations and Loading your anchored content. The UI prompts you to select your location from a drop down list–select the location you are currently authoring. Pressing the Load button on the example scene UI will populate your scene with the correct anchored content.
Make a build using JSON to store your manifest data
While we don’t want to prescribe the best way to do store your VPS Location in a project (create a JSON, use a database, etc), we’ve attempted to make it easy for you to save living data like anchors outside of the build so that you can update said content without having to always make a new build.
Manifest scriptable objects have an Export to JSON option that allows you to save a lightweight version of your remote content anchors. With the following two lines of code, you can transform that JSON content back into the RuntimeVPSLocationManifest data structure that is used in the example code.
var jsonString = (obj as TextAsset).text;
var manifest = JsonUtility.FromJson<RuntimeVPSLocationManifest>(jsonString);
When paired with Unity examples about how to read a file from the web, creating a remote manifest for your project is straightforward.
Note
Using a JSON to represent a RuntimeVPSLocationManifest does not account for associated prefabs that you may have used during the VPS Authoring process. This solution is for advanced use cases where it is assumed that the dev user has a different strategy for associating gameobject prefabs with their anchored content. This might be manually adding the prefabs in your build, or reading from addressables or asset bundles, etc. We intentionally keep the JSON file lightweight so that any build strategy you are using to manage the size of your project will continue to work. If you have no such concerns, consider using the Remote Authoring Example scene without incorporating JSON files.
Troubleshooting
There are a handful of cases where syncing the LocationManifestManager won’t work. If you find that your content is not updating as it should, you should attempt a manual Populate Anchored Content by pressing the associated button on the component.
Examples where syncing might fail:
Renaming a VPS Manifest. Renaming a manifest breaks relationships of anchors in the ManifestManager.
Working on a scene that is not currently open in the editor. The system is only designed to sync active scenes.