Authentication
How to set up a project with an authentication token that uses your API key.
Creating the ArdkAuthConfig
In order to use the networking and awareness features of ARDK, an authentication token must be fetched from the ARDK servers. This token must be configured with a valid ARDK API key.
The following steps need to be repeated for each project that uses ARDK.
Create a Resources/ARDK directory inside your project’s Assets directory and add an
ArdkAuthConfigasset to it. Do not change its default name.

Fill the Api Key field in the
ArdkAuthConfig.assetwith any API key generated through your Lightship.dev account.

Note
Because your ArdkAuthConfig is saved in your project with your API key, you should avoid sharing your ArdkAuthConfig publicly. For example, if you want to share your project in a public github repo, you should either remove your ArdkAuthConfig or clear out the Api Key field before sharing.
To ensure your app is using the correct key, restart Unity.
Verifying Your Setup
Note
Verification of authentication in the Unity Editor currently only works on Intel Macs. If using a different development platform, you must deploy your ARDK app to a mobile device in order to verify that authentication has been set up properly. Logs can be viewed by clicking the Toggle Log button.
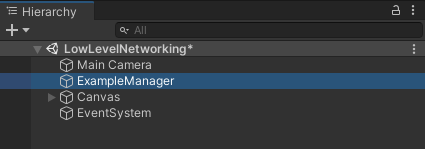
To verify that your API key is valid and set up properly, try out the LowLevelNetworking scene in the ARDK-Examples Unity project.
Find the
NetworkSessionManagercomponent, located on the ExampleManager object in the scene hierarchy.

Set the
NetworkSessionManager’s RuntimeEnvironment property toLiveDevice.

Enter Play Mode.
Click the Init button and then the Connect button in the Game View window.
If authentication succeeds, the connection to ARDK servers will succeed as well and you will see the log message: “Connected as Host”
If authentication fails, you will see a “Connection Failed” log error message with an error code of
700(your API key is invalid) or701(your API key isn’t properly set in your ArdkAuthConfig)