Authoring Wayspot Anchors in Unity
Note
This is a Public Beta feature and functionality may change in a future release. For more information on ARDK feature launch types like Public Beta, see Lightship Launch Types.
The VPS Authoring Assistant BETA provides Unity tooling for creating Wayspot Anchors and saving them to file or project, so that you can easily create experiences for VPS end-to-end, without needing to leave your home or office. The VPS Authoring Assistant is meant to be used only with 3D meshes downloaded from http://lightship.dev/geospatialbrowser – for more information, see the Geospatial Browser documentation. The Unity VPS Authoring tool set is great for setting up bespoke AR experiences at a particular location using pre-made anchors that you design specifically for the location.
How to Add a Downloaded Mesh to Your Unity Project
Download the mesh following the instructions in How to use the Geospatial Browser. There is no need to unzip the file.
Open your Unity project. You must have ARDK 2.4 or higher added to your project.
Open Lightship > ARDK > VPS Authoring Assistant > Open.
Click Import Downloaded Mesh.

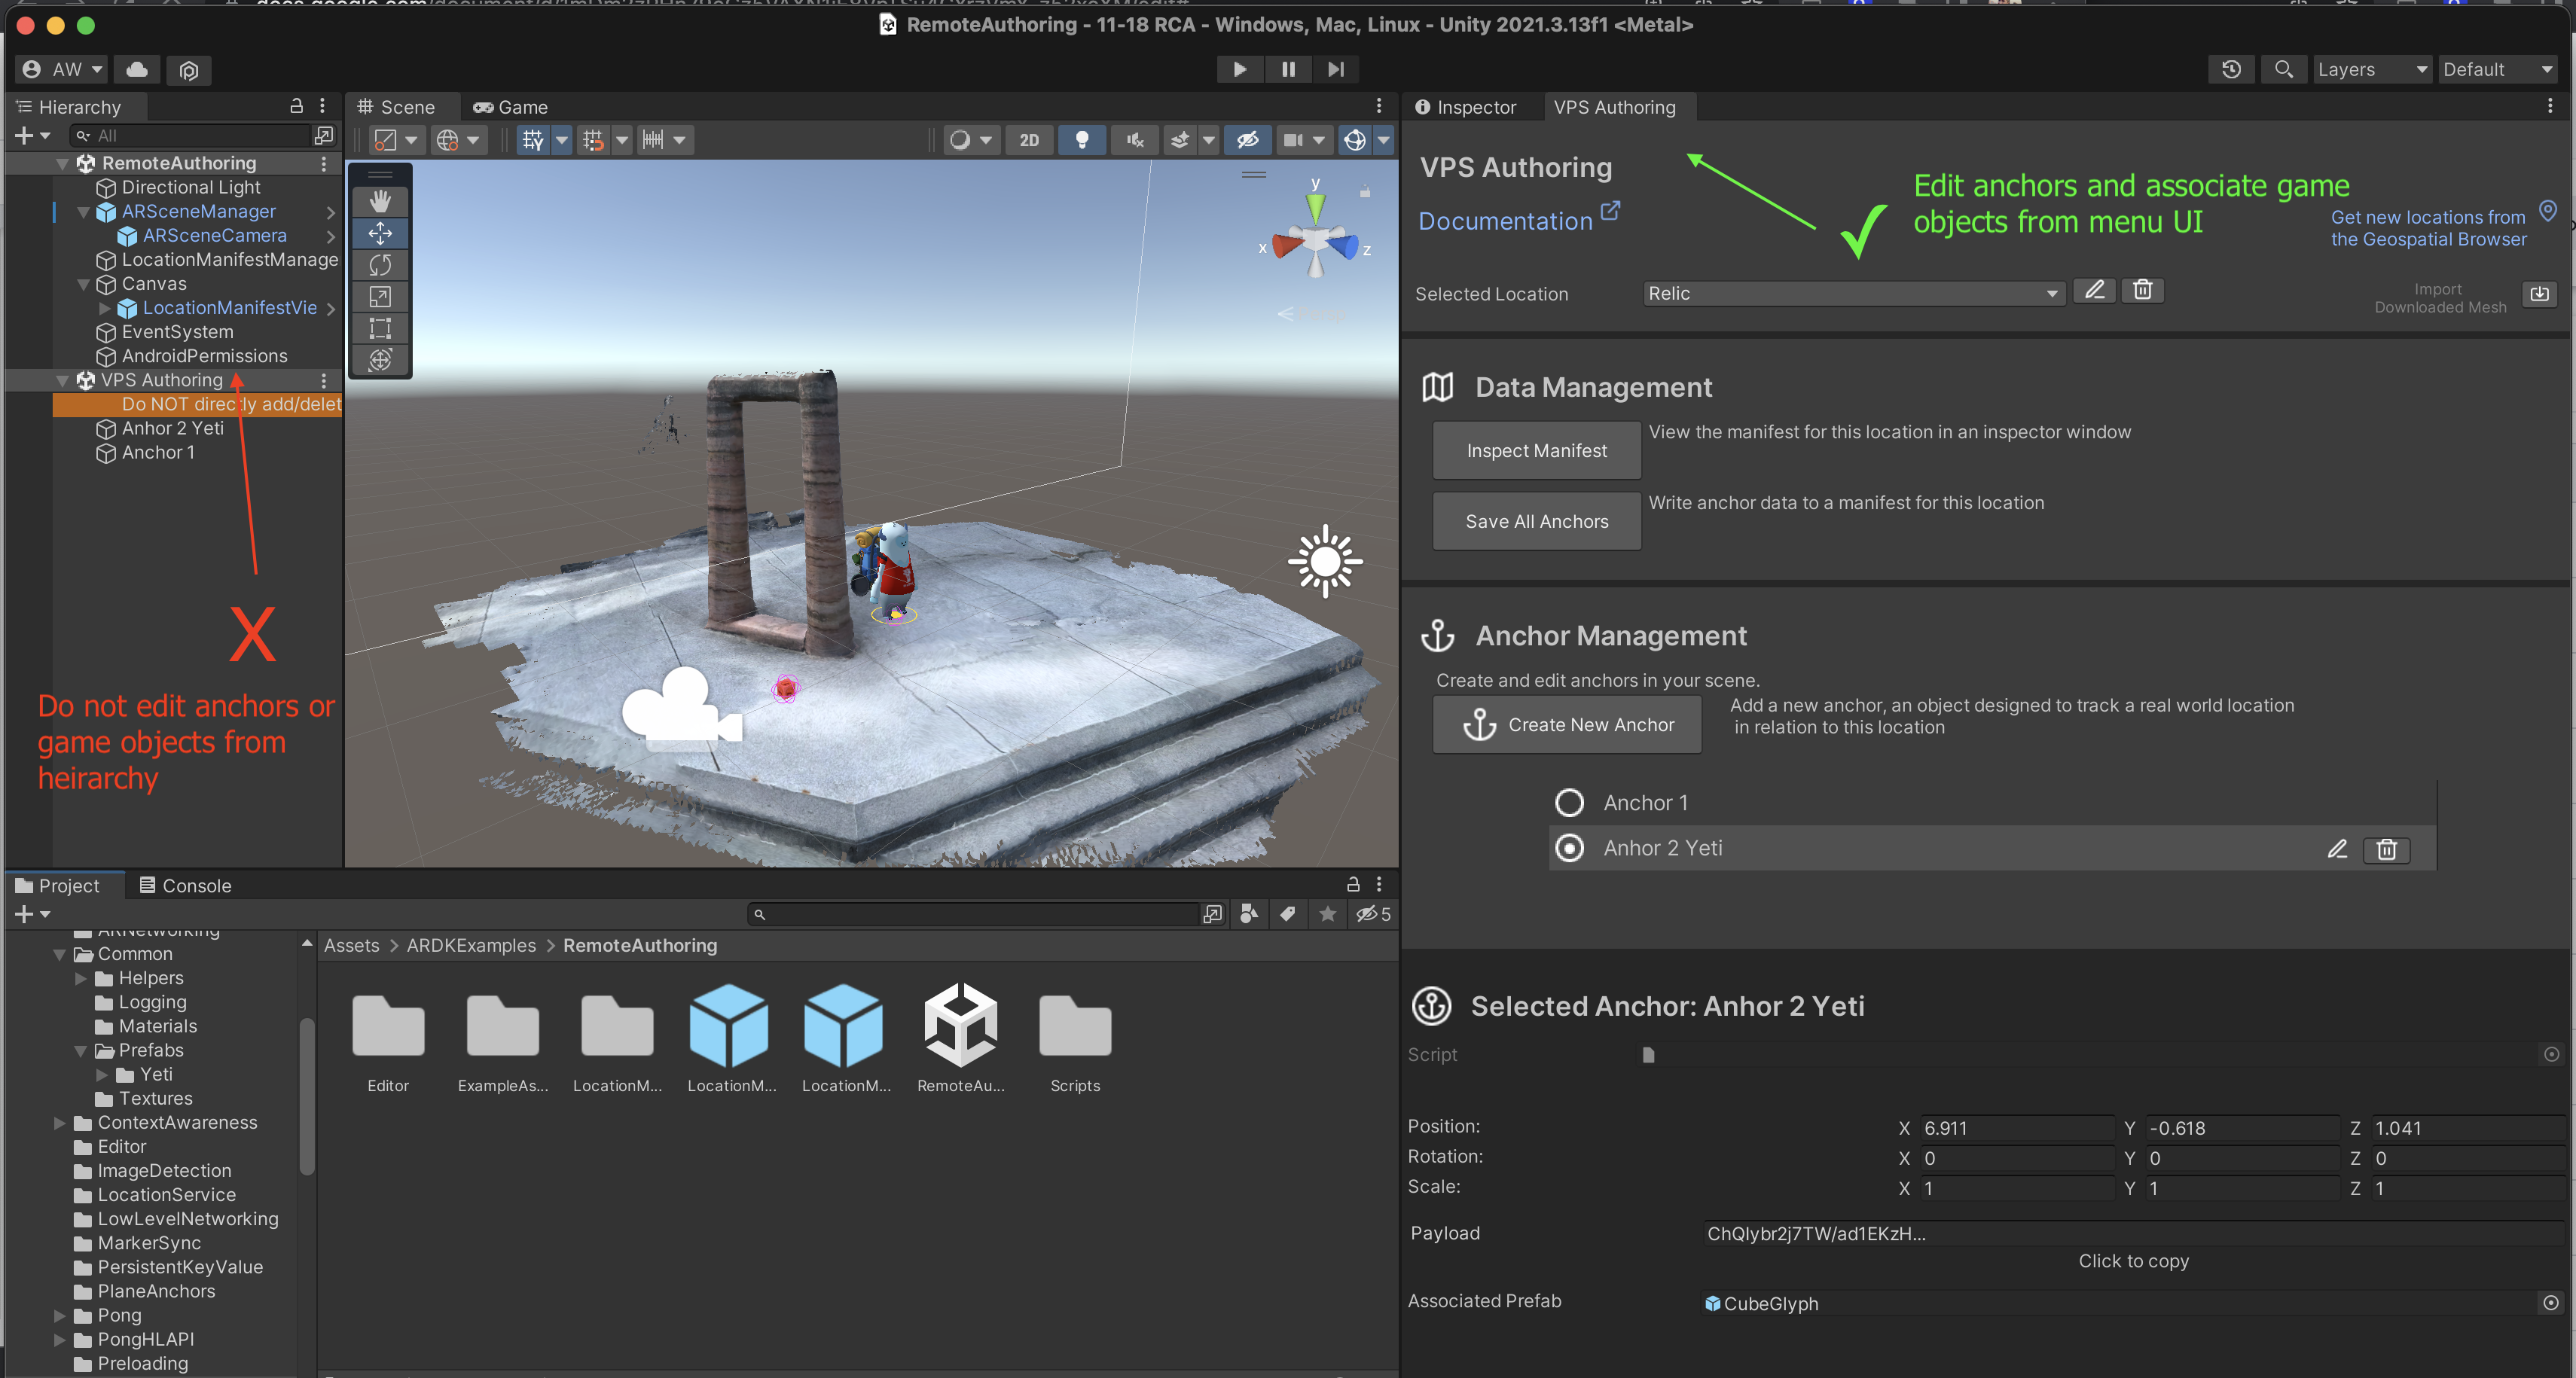
Your location is now imported into an editor-only scene used by the VPS Authoring Assistant. Use the VPS Authoring tab to work with this scene, and do NOT edit the editor scene content directly. We advise that you do all editing of this scene in the provided Editor Window. VPS Authoring in the additive scene hierarchy directly will cause unexpected behaviors.
Note
Opening the VPS Authoring Assistant Editor opens an additive scene in your hierarchy. It’s important to recognize that this scene is not included in your application builds and is only present to help you with authoring your Wayspot Anchors and previewing content placement.
Setting up Wayspot Anchors
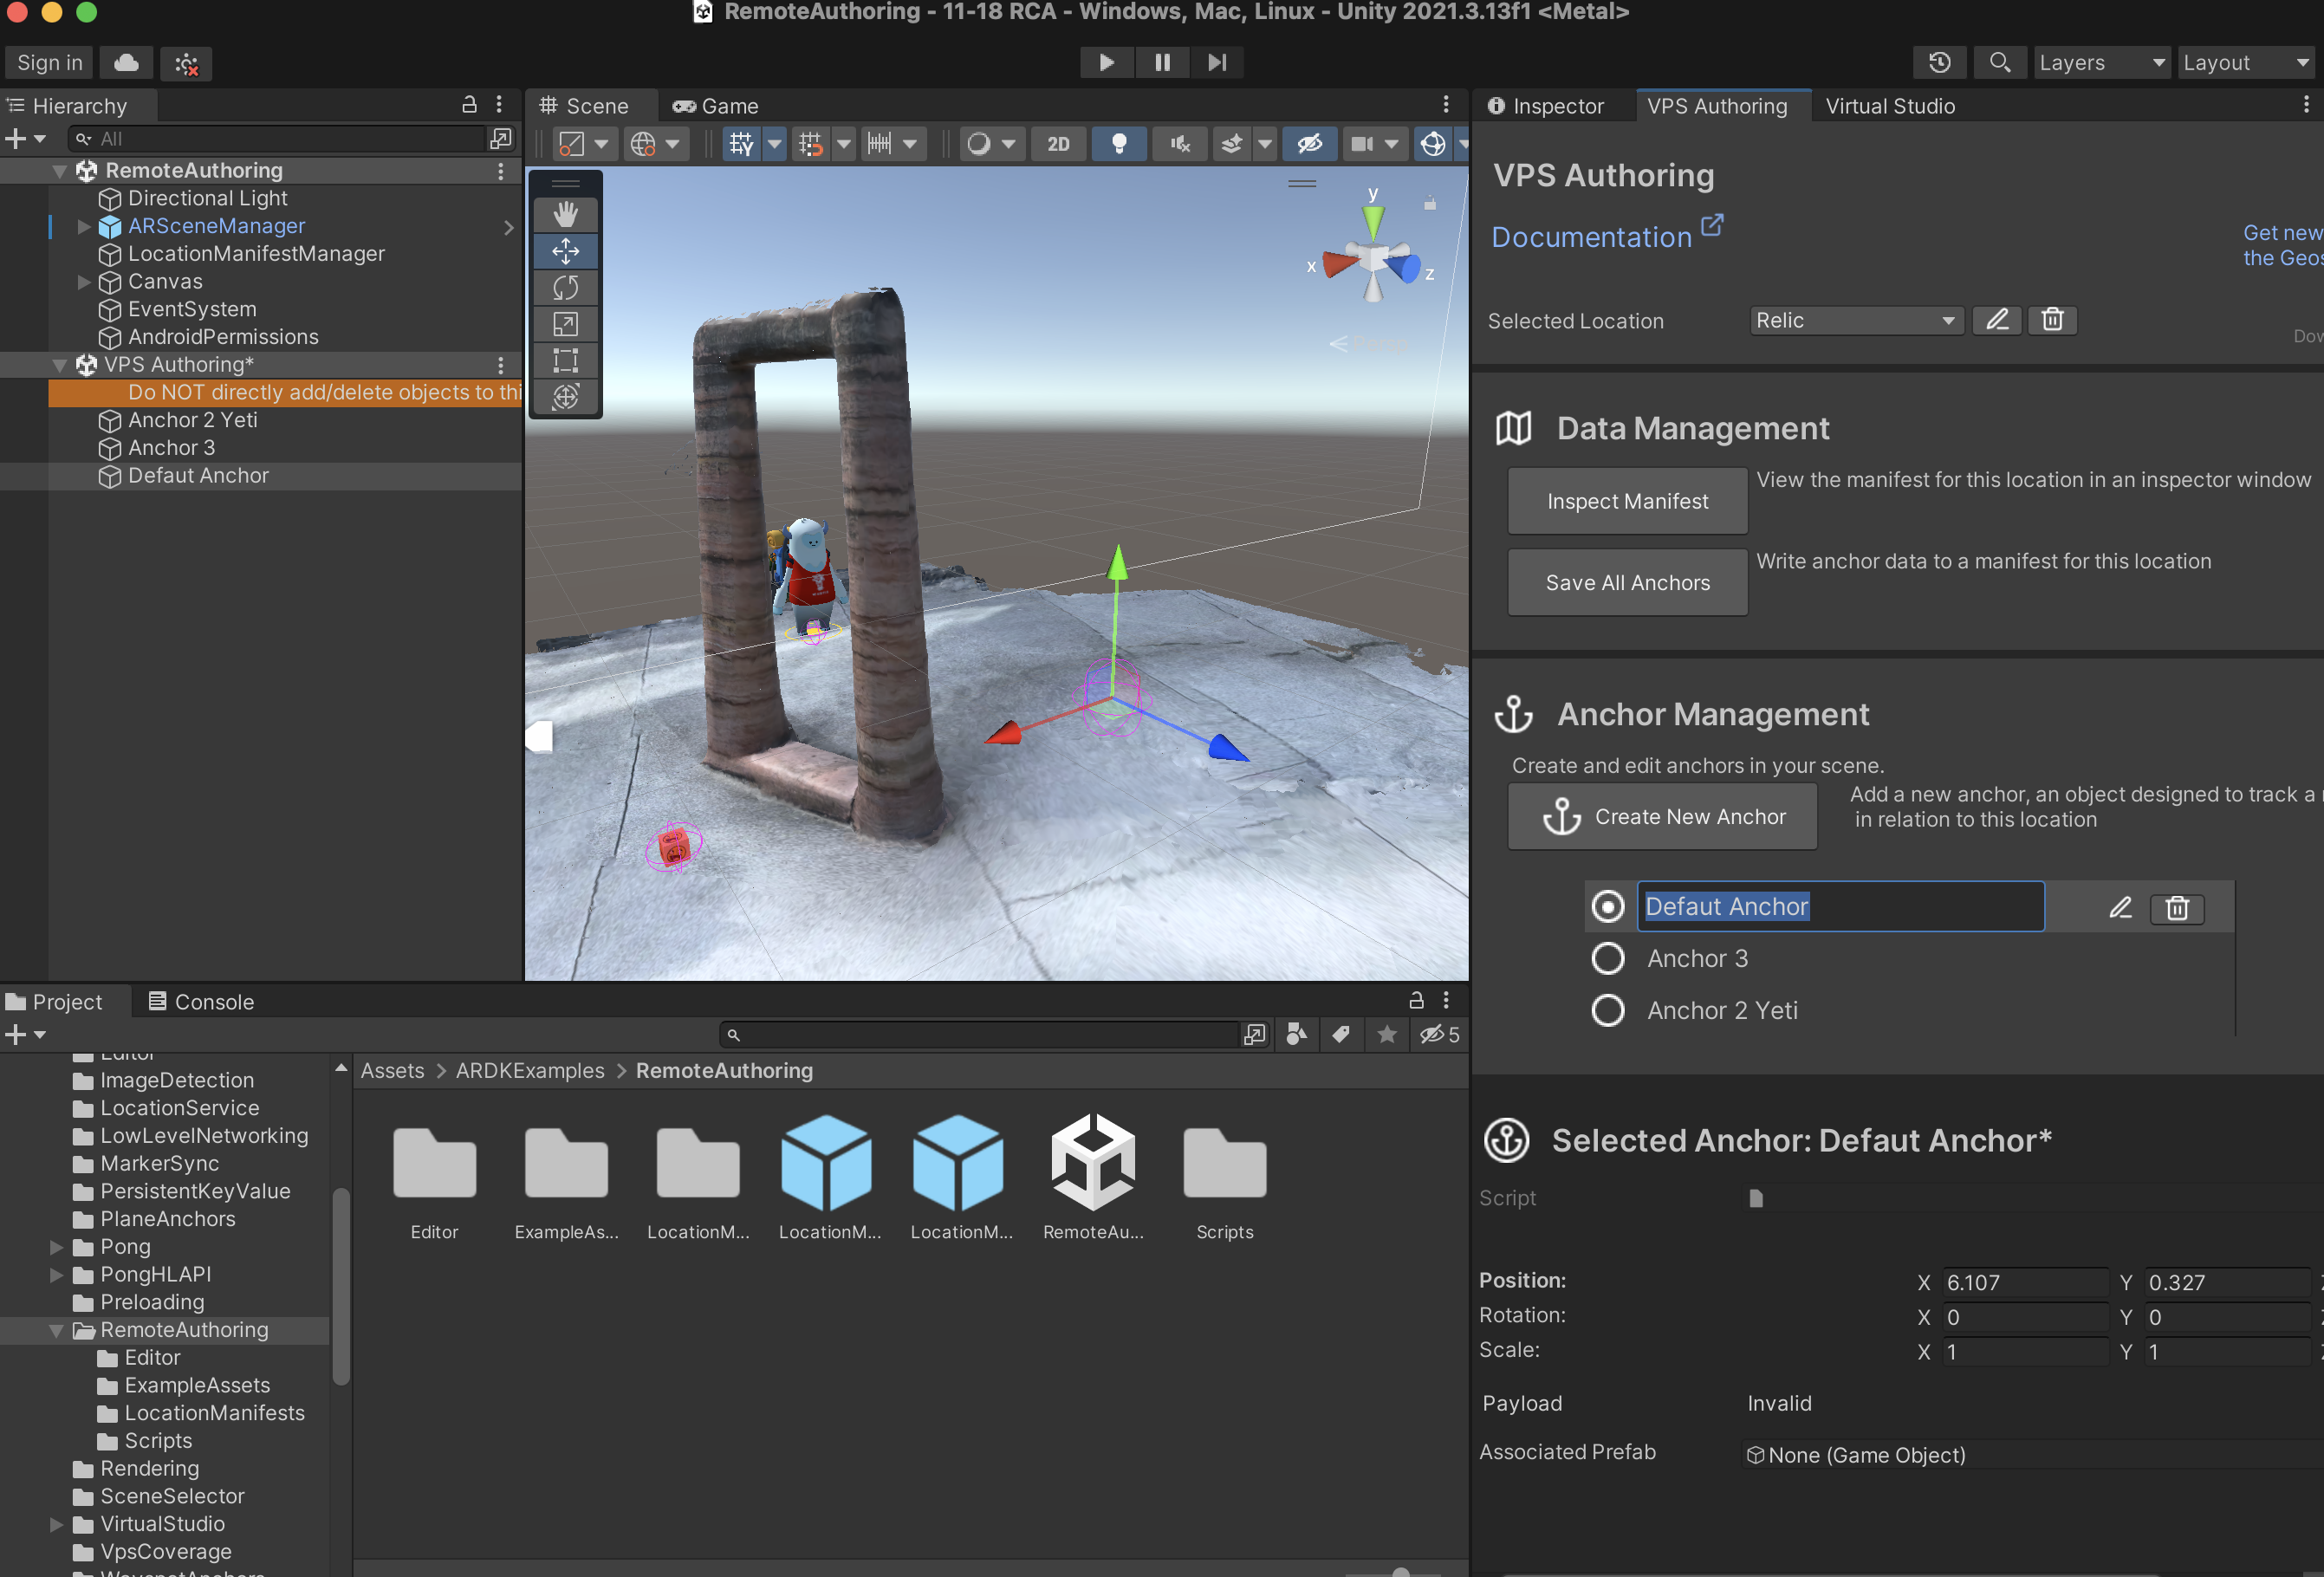
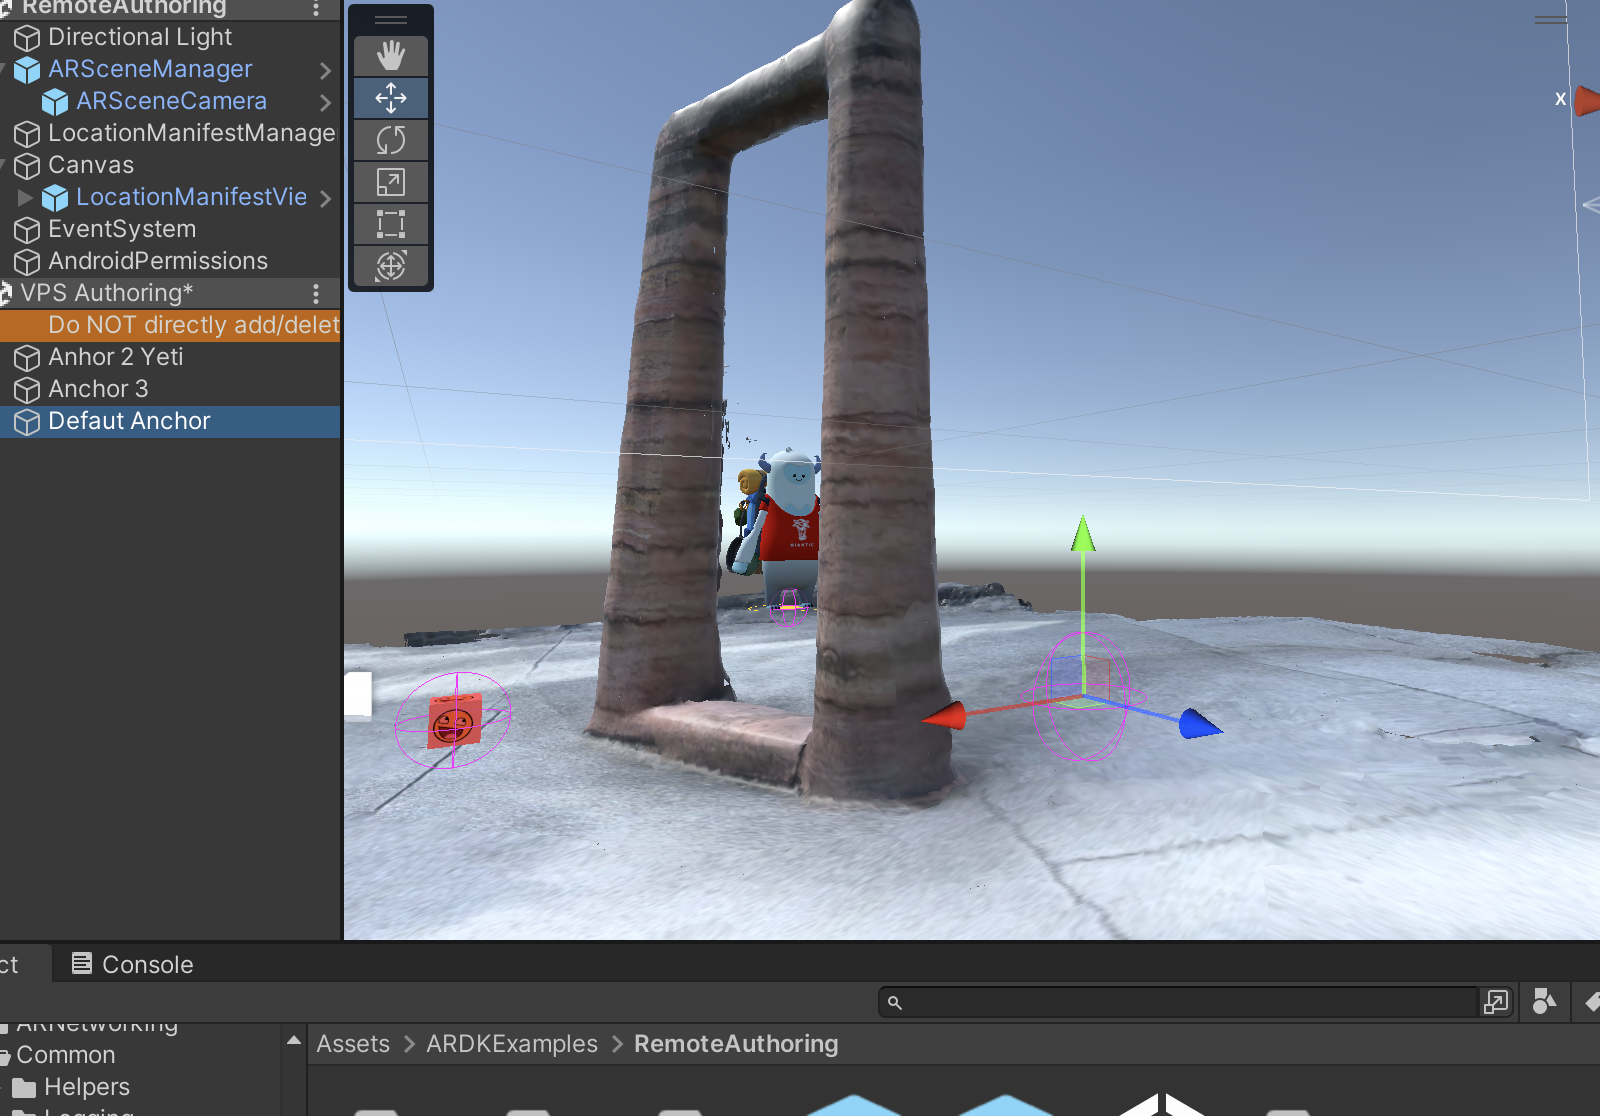
By default there is one anchor created with every location import named “Authored Anchor (Default)”. This is your initial origin anchor. You are free to rename this anchor and move it around. In the scene view you can see that a red placeholder gizmo identifies this Anchor and its position in relation to your location.
Note
Because of the way meshes are generated, some default anchors may appear farther from the mesh than expected and you may need to move around the scene view to find it.
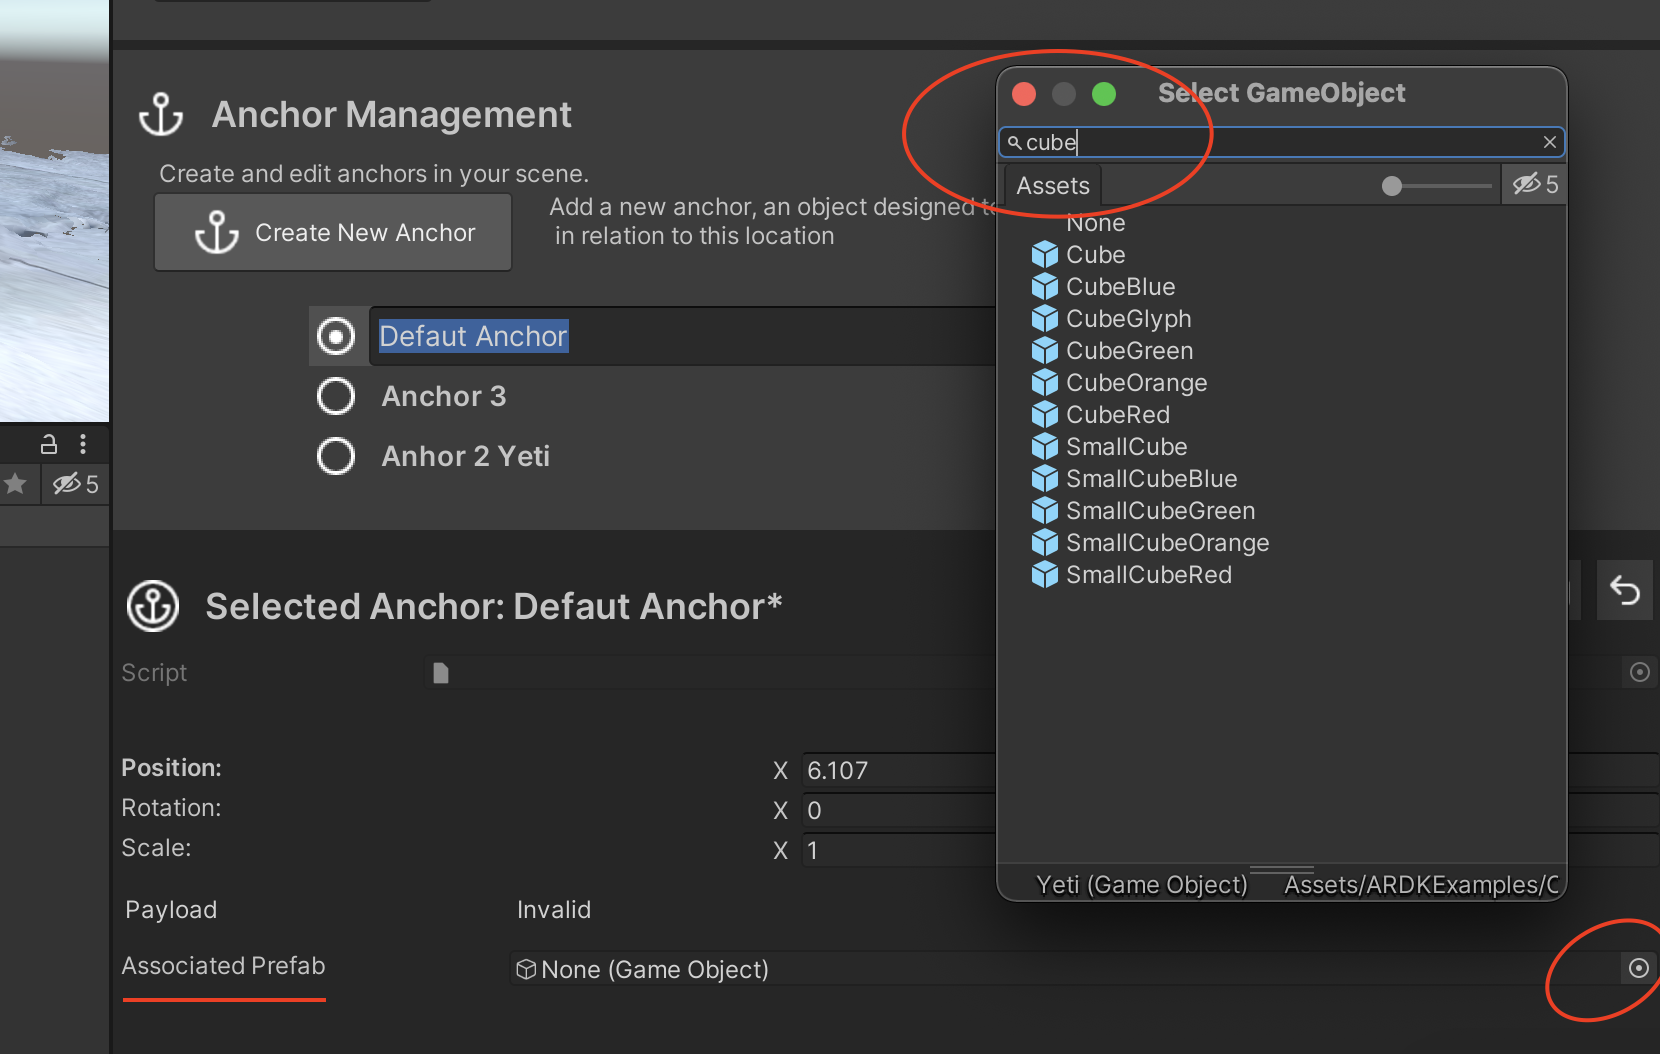
Use VPS Authoring Assistant to help visualize your game content in relation to your anchor. To associate a GameObject prefab to an anchor, simply add a GameObject to the AssociatedPrefab list on your Anchor object.
Note
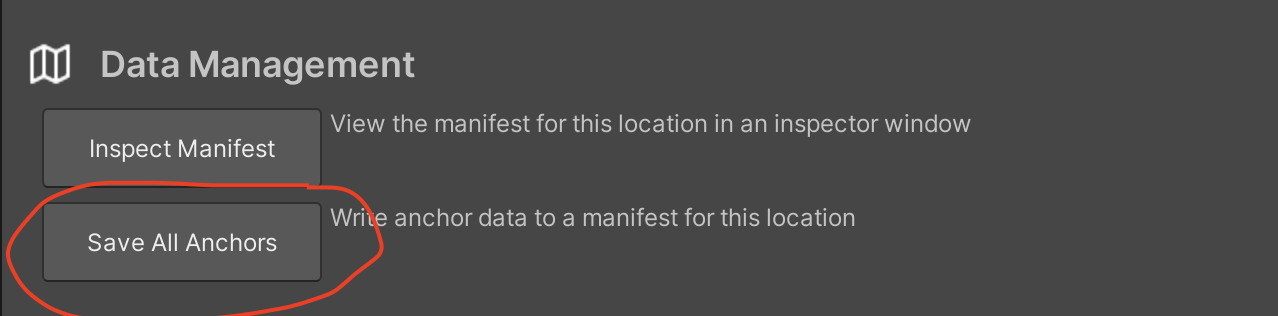
You must select Save All Anchors from the menu as you move the anchors around or change the associated game objects. Ctrl-S or Save project will not save the state of your VPS Location Manifest.
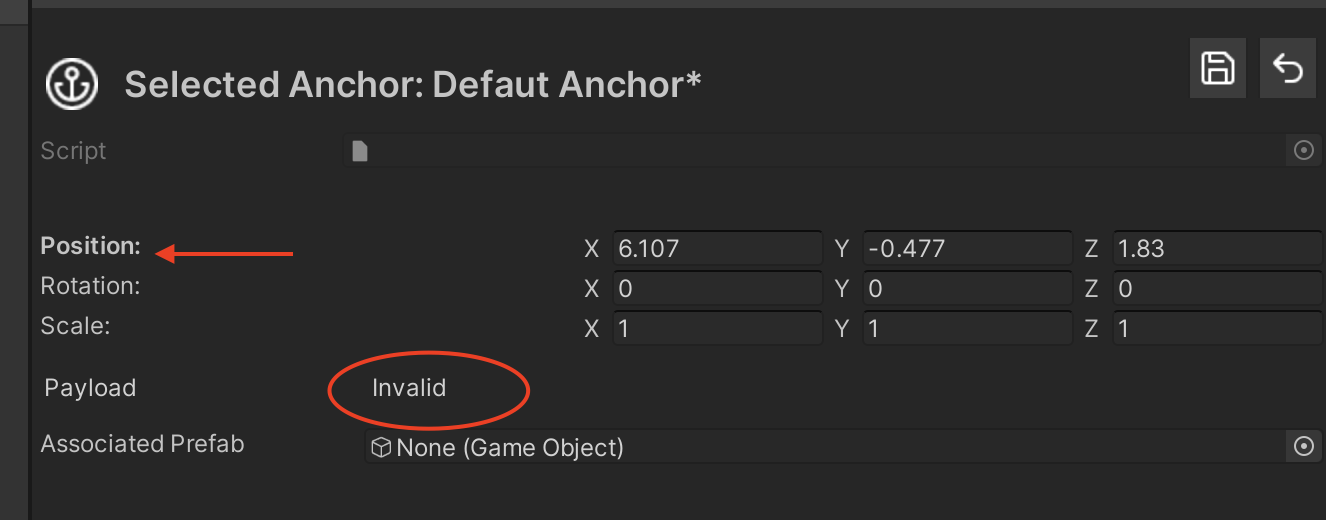
Saving an anchor is how your wayspot anchor payload gets generated which will be visible in the Payload section of your anchor component. If the payload section is Invalid you must Save your anchor again to see your serialized payload string. You can see if a property on your anchor is not yet saved – such properties remain bolded until a Save occurs. The save button is located at the top right of the UI.
You may want more than one anchor to be defined in your location. You can use the VPS Authoring Menu and click on Create New Anchor. You can have any number of anchors in your location.
Note
You should not try to create these game objects manually. DO NOT USE Unity’s built-in Duplicate function on anchor game objects. You must use the VPS Assistant Menu to Create, Delete, and Save anchor content.
As you make and save changes, your anchor content is stored in a Location Manifest, which is a scriptable object that was generated when you first imported your zip file. You can use that manifest to generate a JSON manifest if you choose, that you can bring into your AR build.